Step 1: Prepare Your Workspace
Before doing anything else, gather old sheets, towels, and whatever else you need to cover any potential spills. The water that drains from your radiator may not be clean, spoiler warning!
Step 2: Disconnect the Water and Heat Source
Hold off on turning off the water and heating until the radiators have cooled completely. Here, you should also ensure that the thermostat is off and that no heating programs are running since they might interfere with replacing the valves.
Step 3: Drain Your Heating System
Even while it may seem difficult, this is very simple. Finding the drain cock in your house is the only complicated part; after that, you may attach the hose and fasten it with the jubilee clip. The next step is to open the drain cock, take the hose outdoors, and let the water drain completely.
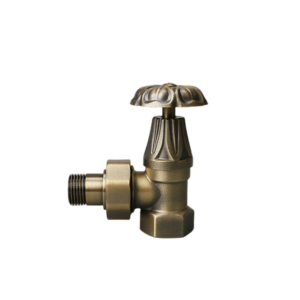
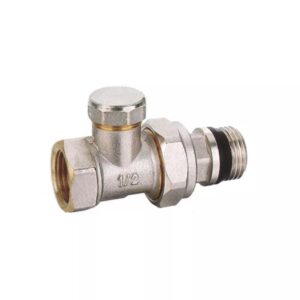
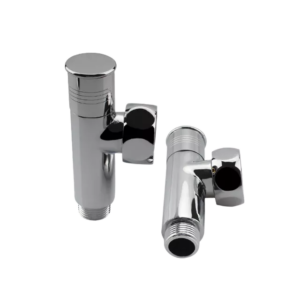
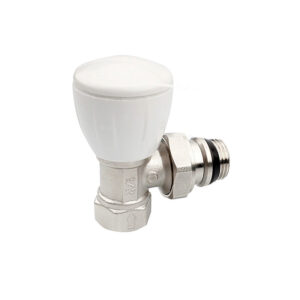
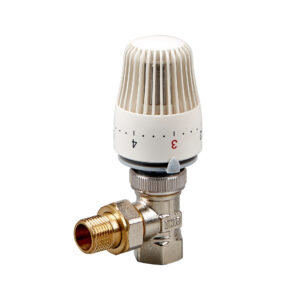
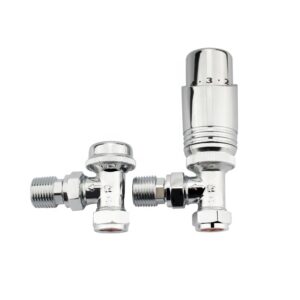
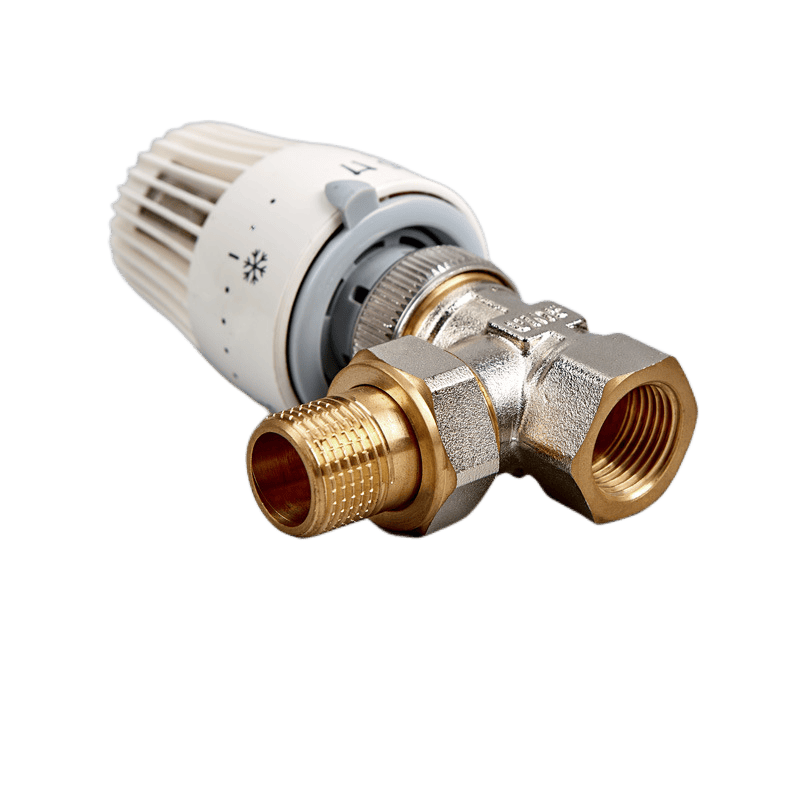
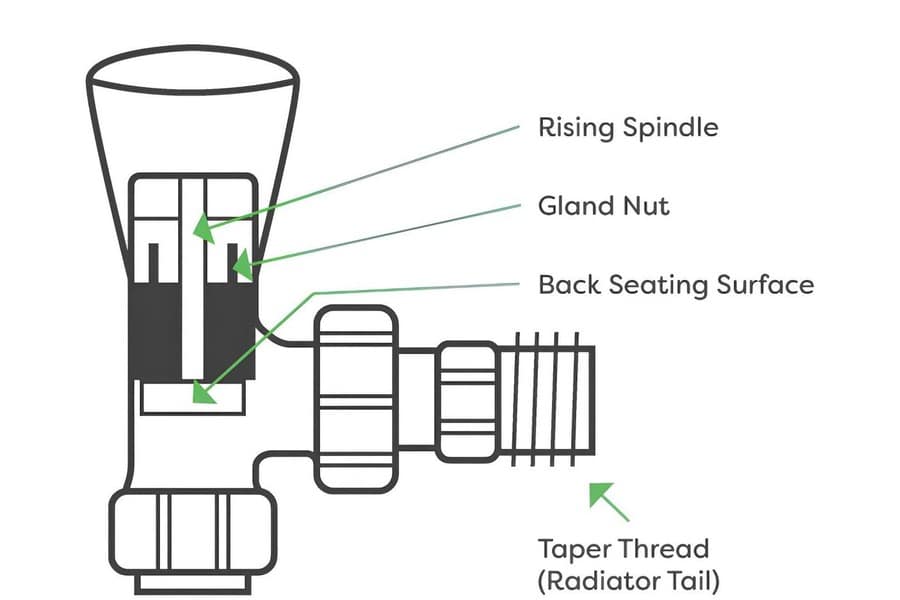
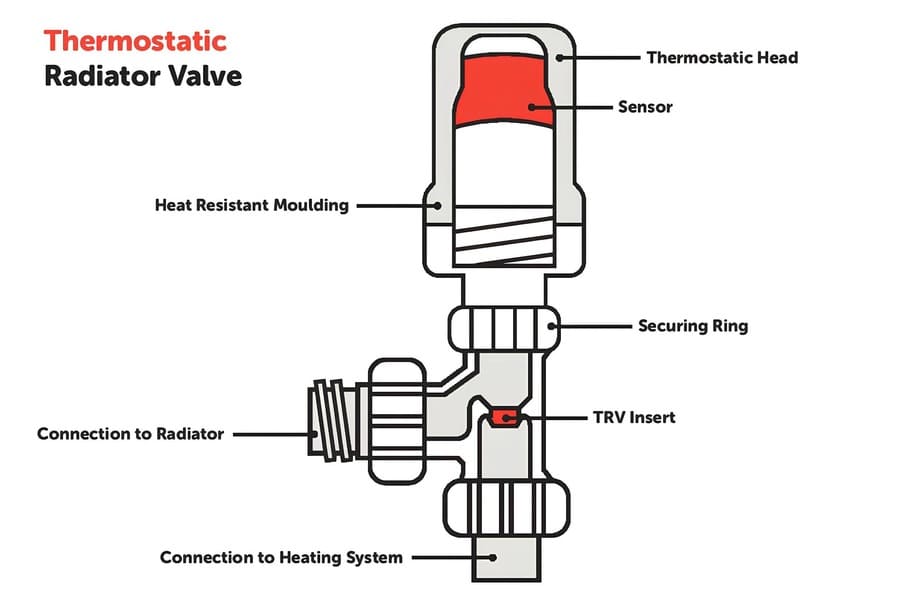
Step 4: Remove Your Old Valve
Remove the old valve from the radiator, and use the wrench to grip its body and the spanner to unscrew it. You may have to remove the valve adapter if you need to change it.
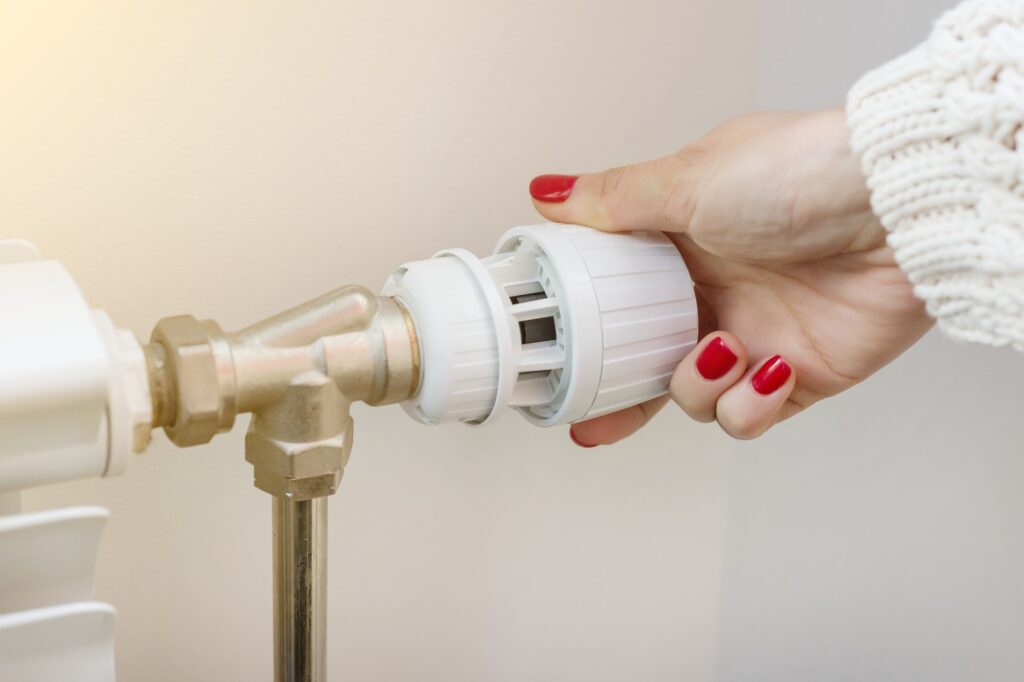
Step 5: Place Your New Valve
After you’ve cleaned the pipe and valve, replace it with the new one and screw it back onto the radiator. Secure the water pipe using the plumber’s tape to prevent leaks further. While tightly fastening the valve to the pipe, be careful not to over-tighten it.
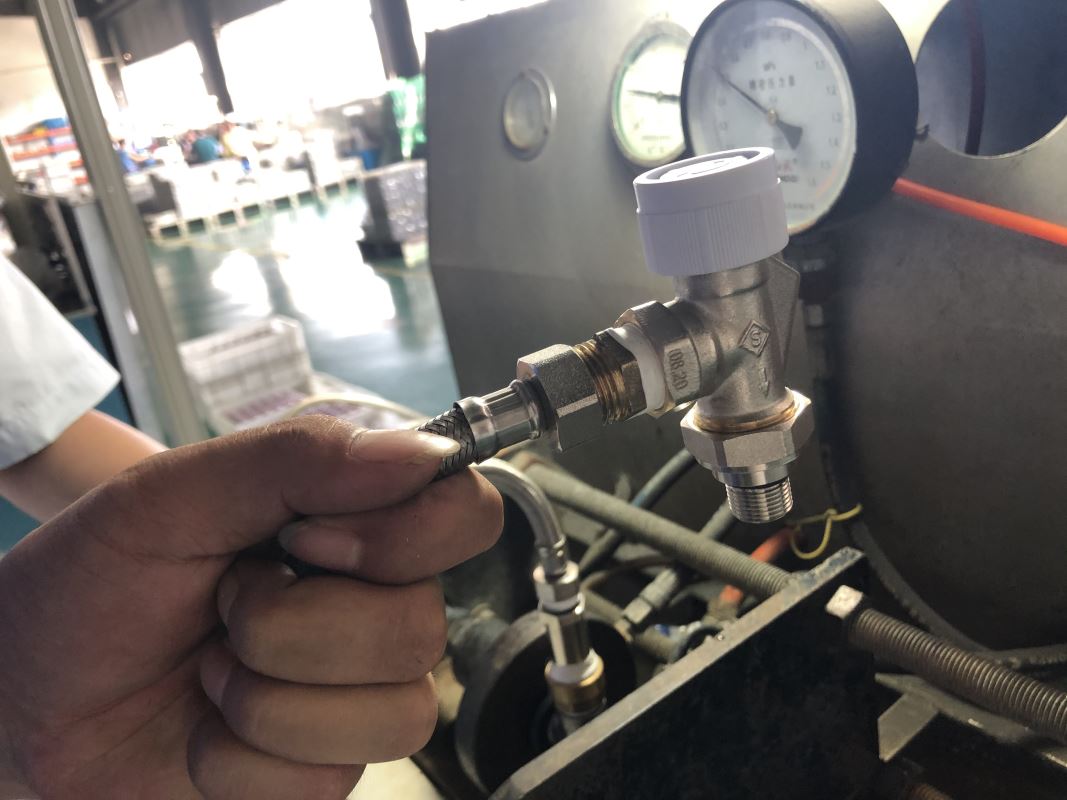
Step 6: Turn Your Water And Heating Back On And Refill Your System
While this step should be obvious, remember that you want the pressure gauge to return to 1.5 before refilling your boiler system.
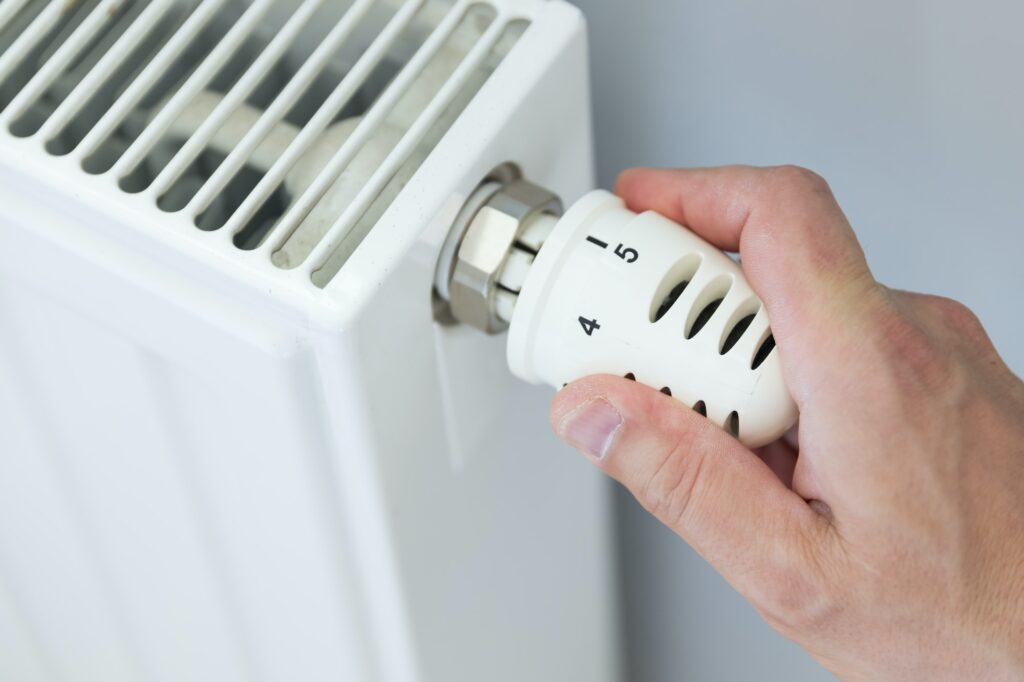
Step 7: Bleed your Radiator
make sure that your efforts are not in vain; this is a necessary step to release any gas that may have been trapped within the radiator. A detailed tutorial on bleeding radiators is available. After bleeding the radiator, you may need to replenish the pressurized system.