


Description
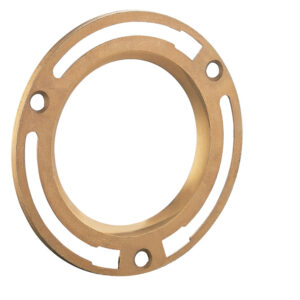
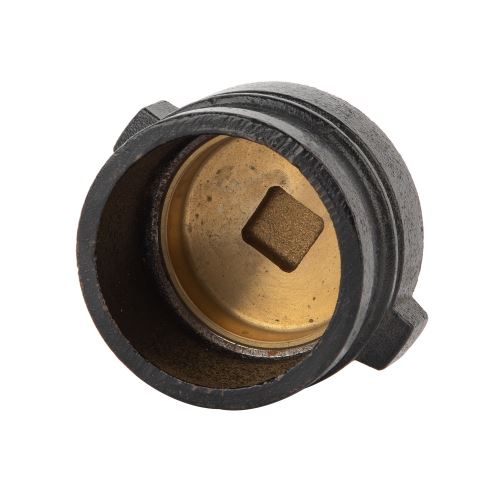
Push-On Cleanout Less Gasket
with Countersunk Plug
JX-0824
| 1″ Head Brass Cleanout Plug |
| 11/4″ Head Brass Cleanout Plug |
| 11/2 ” Head Brass Cleanout Plug |
| 2″ Head Brass Cleanout Plug |
| 21/2 ” Head Brass Cleanout Plug |
| 3″ Head Brass Cleanout Plug |
| 31/2 ” Head Brass Cleanout Plug |
| 4″ Head Brass Cleanout Plug |
| 5″ Head Brass Cleanout Plug |
| 6 ” Head Brass Cleanout Plug |
| 8″ Head Brass Cleanout Plug |
| 10 ” Head Brass Cleanout Plug |
How to use Push-On Cleanout with Plug?
Cleanouts are a great way to remove unseen blockages in your plumbing system. You can use Push-On Cleanout with Plug, but you need the correct tools first! Follow these steps:
1) Find an open area on top where no one will step or trip over it when walking by; 2). Hold down both ends of each lever until they’re parallel with the ground (this might take several tries); 3 ) Place the plug into the release port just like the picture shows–now all that’s left to do is push hard enough, so there’s roughly 1/4″ gap between crown nut & flange at the bottom end.
Grab a Push-On Cleanout with Plug from your local home improvement store. Next, slip it over the end of one pipe and place it into another until both are fully seated in their respective sockets on either side of an obstructing stopper or caulk joint (caution: do not overdo this step). Once inside position, tighten by hand using moderate firm pressure along each shank’s thread direction until completely secure
You’ll need two sizes to repair leaks under sinks – small ones that fit into smaller plumbing fixtures like lavatory faucets; large enough to go around significant bathtub types, including skylights!
To use Push-On Cleanout with Plug, you must remove the plug from its socket. Now unscrew and pull out the old rusty or dirty sections until there’s enough space for your new one! Remember: It doesn’t matter if they’re clear because we’ll be painting them afterward, so don’t worry about getting paint everywhere right now -Push-On Cleanout with Plug makes it easy to remove and replace your commode plug without having any tools needed. To do so, place one end of the device into an empty toilet bowl while pushing down on its handle until all four feet are fully seated inside their respective slots for you to apply pressure evenly across each section which will cause them to lock securely fastened together by friction only – no screws or other metal materials used during the manufacturing process!