Water damage from a leak under the kitchen sink can worsen if you don't fix it immediately. , a seep may indicate that the sink strainer requires replacement; this is a straightforward task. But first, you need to find out where the water is coming from and ensure that the issue is with the sink filter, not something more serious, like a leaking pipe. The leak is coming from the point where the sink and drain meet. This means that the sink filter is broken. The problem can be fixed with time and some easy tools. This will keep your kitchen cabinets from getting water damage.
Steps
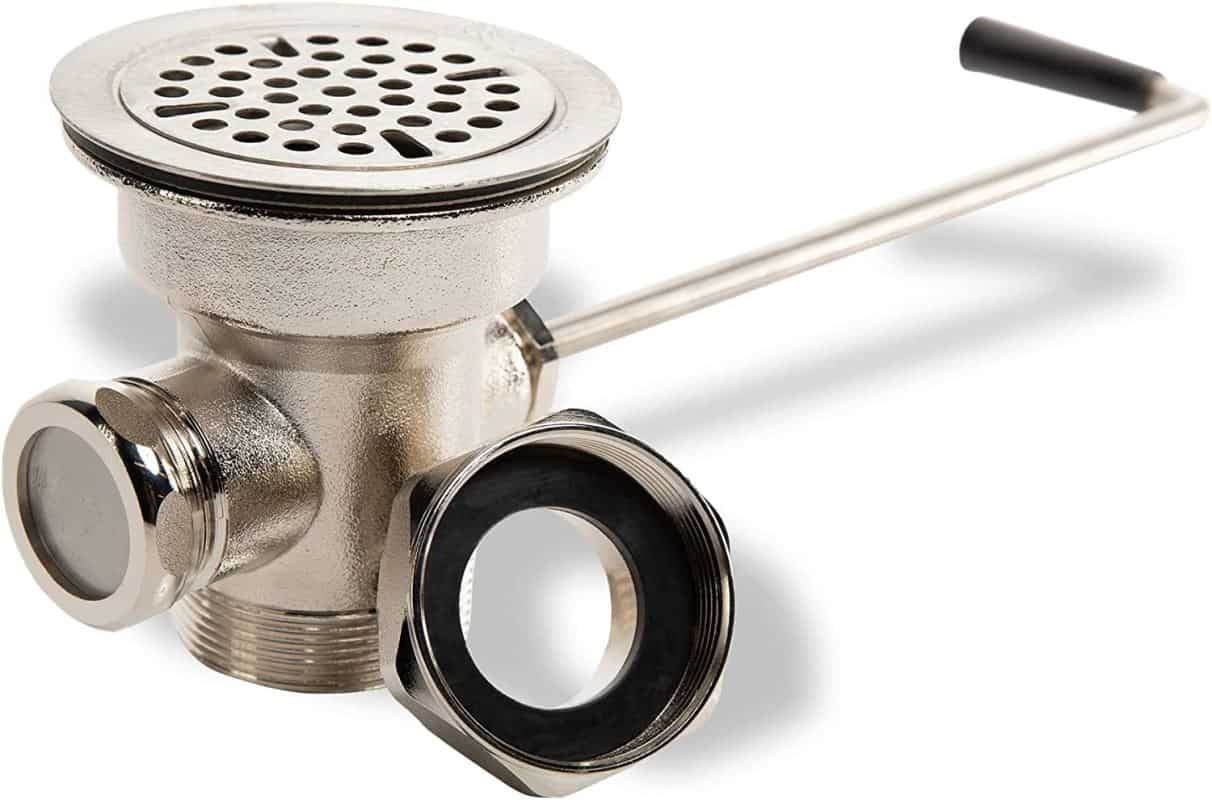
Remove the Sink Strainer
First, remove the lines attached to the old sink filter. Loosen the slip nuts on the drain lines with channel-type pliers. Then, pull the drain trap off the tip of the sink strainer.
You can unhook the filter once the drain line is no longer attached. This can be hard to do sometimes. If you can't get the big nut to loosen with channel lock pliers or if the filter starts to turn, you may need to slice the nut. You can hold a hacksaw or a hacksaw blade in your hand (wrapped in a cloth). You should cut the nut in half to fit a small screwdriver into the hole and twist it. This will break the nut, making it possible to take the strainer off completely.
Prepare the Drain and Sink Strainer
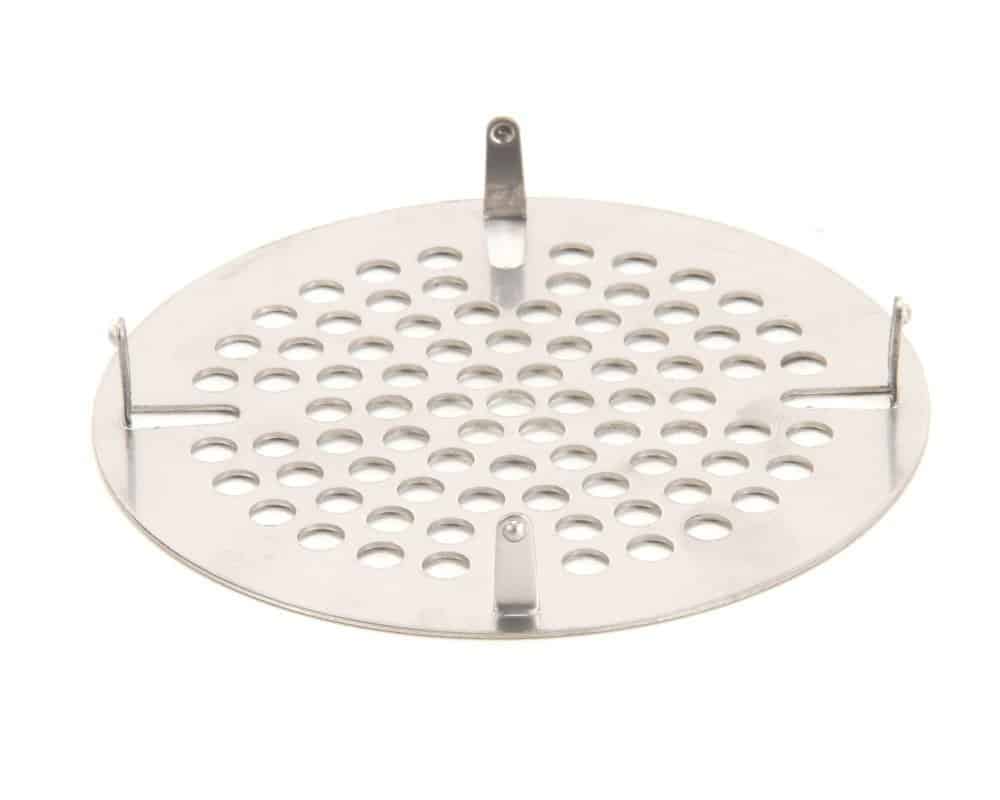
The area surrounding the sink opening must be cleaned before installing the new strainer. A lot of debris can build up from the old strainer, but it should be easy to clean up.
Spread out the different parts of the basket strainer so they are easy to reach. Make the screws on the stopper less tight.
Apply Plumber's Putty
Spread out a long rope of plumber's putty, so it is all the same width. Cover the bottom of the strainer with it and wrap it around the lip.
While ensuring that the strainer is centred in the sink drain orifice, realign it as necessary. To help the putty stick to the sink a little better, push it down a little.
Secure the New Sink Strainer
Position the flexible washer first, then the metal washer over the sink strainer's body from the bottom. Keep them in place. Make sure the stopper is in place before you tighten the screws.
You can use your hand to tighten the screws and firmly. Use tools or a screwdriver to make it tighter if you need to. Keep it close to the rubber washer from the drain under the sink.
Tip
If the washer comes loose, attempt to remove it and add more putty on top of the metal washer.
Reinstall the Drain Pipes
Install the lines for the sink drain again in the opposite direction of how they were removed. Turn on the water and look for leaks.
Tip
Install a stopper in the drain, fill the sink with water, and then take the plug off. This will make sure there are no leaks. When you let a lot of water out, the extra pressure can make leaks stand out more.