


Description
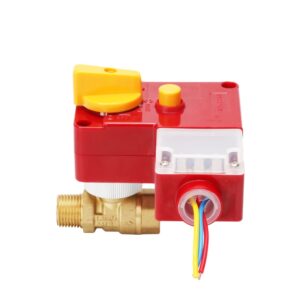
Rotary Actuator Mixing Diverting Valve
JX-0307
- Port Size: 1/2″ – 2″
- Media: Water
- Power: Manual
- Torque: 6 Nm (Max)
- Power Supply: 220-230 v Ac,50-60 HZ,24 VAc
- Rotation angle: 90°
- Valve connection: 1/2″-3/4″-1″-1 1/4″-1 1/2″-2″
- Operating temperature: -5℃,+50℃
- Cable length: 90cm
- Rotation time: 60-120 sec
Actuators Remix is a compact and simple heating controller installed directly onto the mixing and diverting valves. With the function on/off.Compact design, fast installation, ease of use, and reliability.

VALVE MATERIALS: ENSURING SAFETY AND LONG-LASTING PERFORMANCE
To ensure safe operation & most minor maintenance for the plumbing system, valve material is important. A valve with good material can reduce replacement & maintenance costs. The best material for the valve is Stainless steel. It is very much environmentally friendly. Stainless Steel valves are suitable for corrosive media like chemicals, saltwater, and acid. These valves are also ideal for food and beverage manufacturing and pharmaceuticals purposes. And no alternative to stainless steel valves. It is because of a chemical system with high pressure or high temperatures.
Valves of brass, bronze, and copper are often better. It is convenient & permissible for fuels or any volatile organic compounds. Besides, as a precaution, you should check internal chemical compatibility. Sometimes valve may contain elastomers. At that time, you should check their chemical compatibility. This compatibility checking should include pressure and temperature testing.
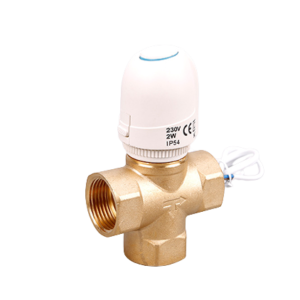
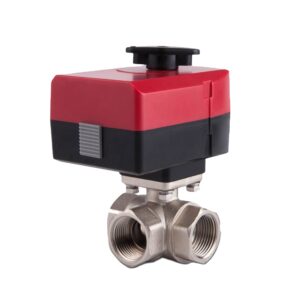
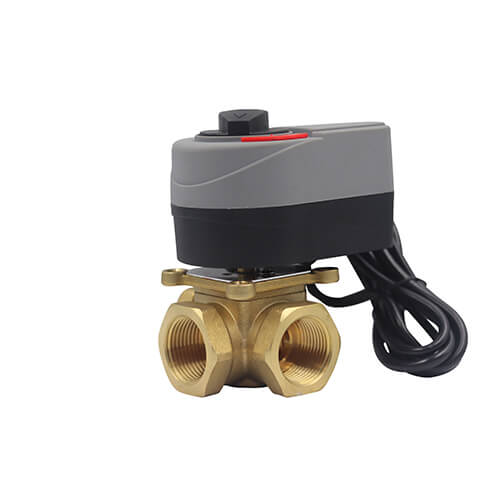
INSTALLATION AND WIRING OF MOTORIZED BALL VALVE
Motorized electric ball valves have significant use in plumbing applications. And it’s used as an automatic control solution. And this is with actuators of all voltage ranges. Low voltage wiring with 24 volts AC actuator is a good option. It is preferable to use 110 volts or high power. Costing, ease of wiring, and distance are the issues in this case. The actuator will have three wires for necessity and safety; blue, brown & black. The Blue one is negative or neutral. The brown wire is positive, and the black one is the controlling wire. The black wire is also positive. A manual override handle is a useful option for several reasons. It would help operate the valve manually when the electric on-off function fails. The best solution, in this case, is to replace the faulty actuator. Using the actuator switches to open or close the valves manually would be best. The actuator is always set up on top of the valve. It can remove and remount for a simple installation effortless way. Maintenance and replacement are also flexible if necessary. It is time-saving, and it needs less effort. There is no need to eliminate the valve from the piping. Actuator replacement or rewiring is the solution for this time.
Proper connection of 3 wires is the key management of valve operation; The blue wire connects with the 24 volts transformer’s neutral connection. The Brown wire connects with the 24 volts transformer’s line connection. The black wire connects with the last one.
The valve will open when the switch connection is completed. It means the relationship between the black wire and the 24 volts transformer’s line. The valve will close when the switch connection is not met. It means the connection between the black wire and transformer. Wiring the actuator needs a few components & parts. These are a power source, a power strip with many outlets, a standard light switch, and a 24 volts transformer. A low-voltage wire, a three-wire bundle, and wire nuts or other wire connections are also needed. If you have connections exposed to water, you need waterproof parts.
The actuator’s blue wire should join to the neutral of the transformer. Brown wire should enter the line connection of the transformer. The black wire should join the light switch. It would help if you used more cables on a three-wire bundle for extra length.
You can test the actuator’s performance to open and close the valve. First, plug the 24 volts transformer into the outlet. Then you should flip the switch to off the valve. This time the actuator turns the valve stem to 90 degrees of the flow direction. You should look through & verify whether the valve is closed or not. The valve will be at a relative state.
Now time to check the open valve condition. Flip the switch to open the valve. Then the actuator turns the valve stem parallel to the valve body. It would be best if you looked through & verify whether the valve is open. The valve will be in a relaxed state.
This type of checking is a must before starting the whole system. It will save you time & expense further. After checking these, you can connect the valve to your system. It may be plumbing, HVAC, or industry. Make sure it will function well. It is also essential to keep the power outage situation in mind. When power loss happens, the current state of the valve will remain the same. At the time of power restoration, it will not change itself.
Now the big question is, what will happen if a power outage occurs at the time of valve opening? The answer is the valve will remain open when a power outage occurs. It has a bypass solution. You can use a manual switch in the system. During a power loss, you can open or close the valve.